
Start Of An Era - Android Development Introduction
Installation of Android Studio and running our first app


Android is an open-source and Linux-based Operating System for mobile devices such as smartphones and tablet computers. Android was developed by the Open Handset Alliance, led by Google, and other companies.
Android Development is a process by which we can create android applications that can run on multiple android devices - mobile phones, smart TVs, tablets and smartwatches.
For android development, we need an IDE (Integrated Development Environment) i.e Android Studio, which is the official IDE for android app development. Once Android Studio is installed, you will also need to download and set up the Android SDK. The SDK contains all of the libraries and APIs that you will need to access the different features of an Android device. It also includes the Android emulator, which allows you to test your apps on a virtual device without having to use an actual physical device.
Here are some steps you need to do before starting android development (this may take some time)-
Firstly download android studio by clicking here.
Open the folder where you downloaded and saved the Android Studio installation file, and double-click on the folder.
If you see a User Account Control dialog about allowing the installation to make changes to your computer, click Yes to confirm the installation.
The Welcome to Android Studio Setup dialog displays. Click next and start the installation.
Accept the default installation settings for all steps.
Click Finish when the installation is done to launch Android Studio.
Choose your preference of light or dark theme when Android Studio first launches.
During the installation, the setup wizard downloads and installs additional components and tools needed for Android app development. This may take some time depending on your internet speed. During this time, you may see a User Account Control dialog for Windows Command Processor. Click Yes to accept the dialog.
When the download and installation completes, click Finish.
The Welcome to Android Studio window displays and you're ready to start creating apps!
Now its time for us to create an app. For that, you need to follow the following steps -
Start Android Studio (if it's not already open) by clicking the Android Studio icon.
The Welcome to Android Studio window opens. Click New Project.
Click on New Project, and the New Project window will open with a list of templates provided by Android Studio.
Select the Empty Activity template and click next.
The New Project dialog window opens, in the Name column enter the name of your app.
Package name is the name used by the Android system to uniquely identify your app. Usually, this defaults to the name of your organization followed by the name of the app, all in lowercase. For now, you can leave it as it is.
Save location is the location where all the files related to your project are saved. Take a note of where that is on your computer, so you can find your files. You can leave the save location also as is for now.
Language defines which programming language you want to use for your project. Make sure the Language is
Kotlin.Minimum SDK indicates the minimum version of Android that your app can run on. Select
API 21: Android 5.0(Lollipop)from the dropdown list.Below Minimum SDK, notice the informational note on how many devices your app can run on with the chosen API level. If you are curious, click the Help me choose link to display a list of different versions of Android, as shown below. Then return to the New Project window.
Click Finish.
Android Studio opens the project and all of its files.
Wait until Android Studio has completed setting up your project. A message in the bottom left corner, like the one shown below, will let you know when the project is complete.

Now your window would be looking like this -
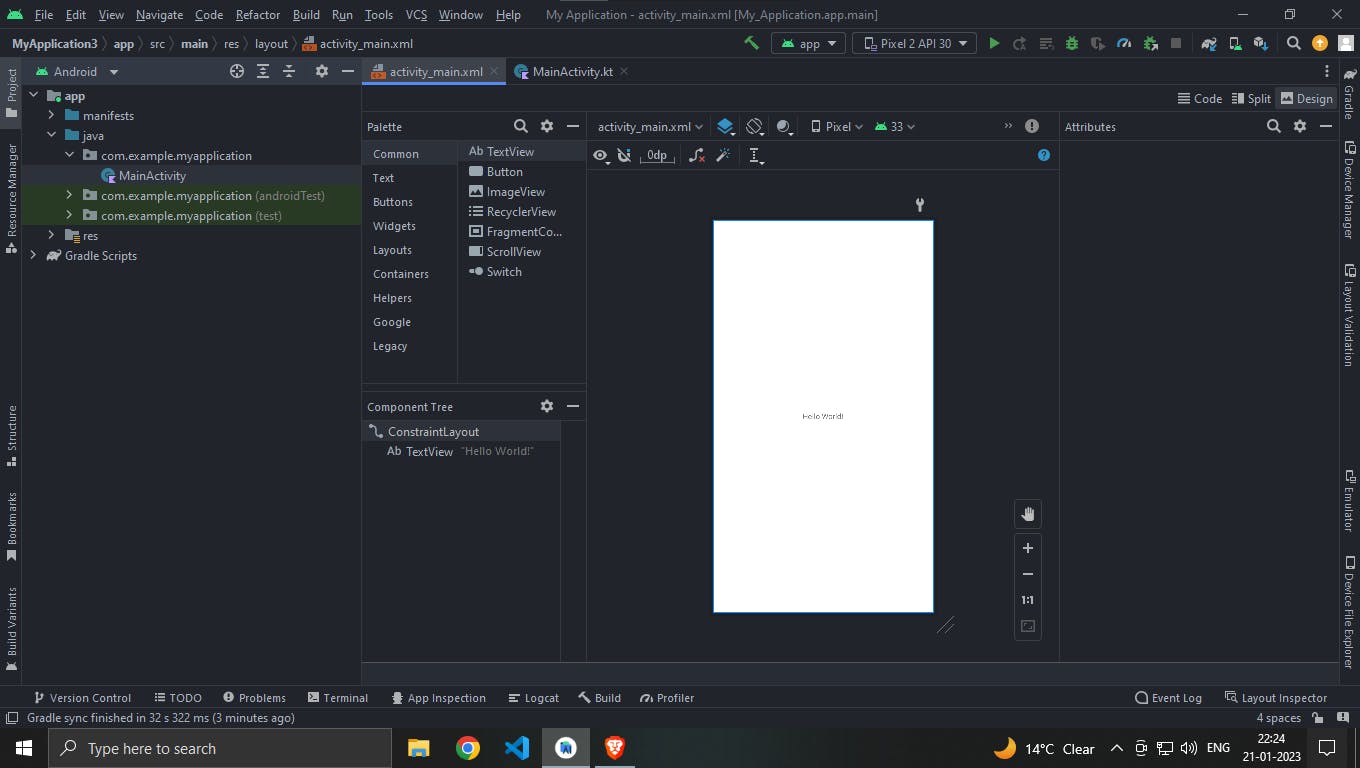
As you can see, there 2 files open - activity_main.xml and MainActivity.kt
activity_main.xml is the file which you'll be using to create layouts of your app and MainActivity.kt is the one in which you'll be adding your logic.
Now you need to connect to a device in which you can see the changes you're making in your app side by side. You can either opt for an emulator (virtual device) or I'd recommend using an actual physical android phone to check your changes.
Steps to connect to your physical device -
Open settings in your android phone, tap on About phone or About device.
Tap on Software Information and then tap on Build Number 7-8 times.
It will enable the developer options on your phone. (Or you can refer to google for your specific phone).
Now go to Developer Options setting on your phone and find Install via USB option and enable it.
Then you need to find Wireless Debugging and then enable it.
Then come to Android Studio and find Device Manager vertically on the right side of your window. You can see Device Manager below Gradle in the screenshot.
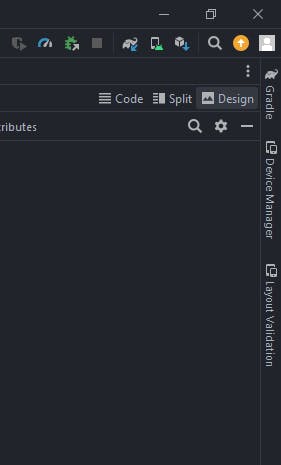
Click on Device Manager.
Then choose Physical Device and click on the option Pair using Wi-Fi.
It will open a QR-code which you can scan from your phone and your device will be connected.
Now your phone is connected, so let's just run our first ever app on your mobile phone.
Go to Run > Run 'app' (It will take some time at first)
Hurray! Your app is successfully installed on your phone.